Easiest, no knead super soft bread

This post contains Amazon affiliate links.Please read my Disclaimer for more information.

Yes, you read it right. This is by far the most easiest bread recipe that requires very few ingredients without the use of any fancy bread making equipment. However, it needs some time for preparation. Here are the list of ingredients required for this bread.
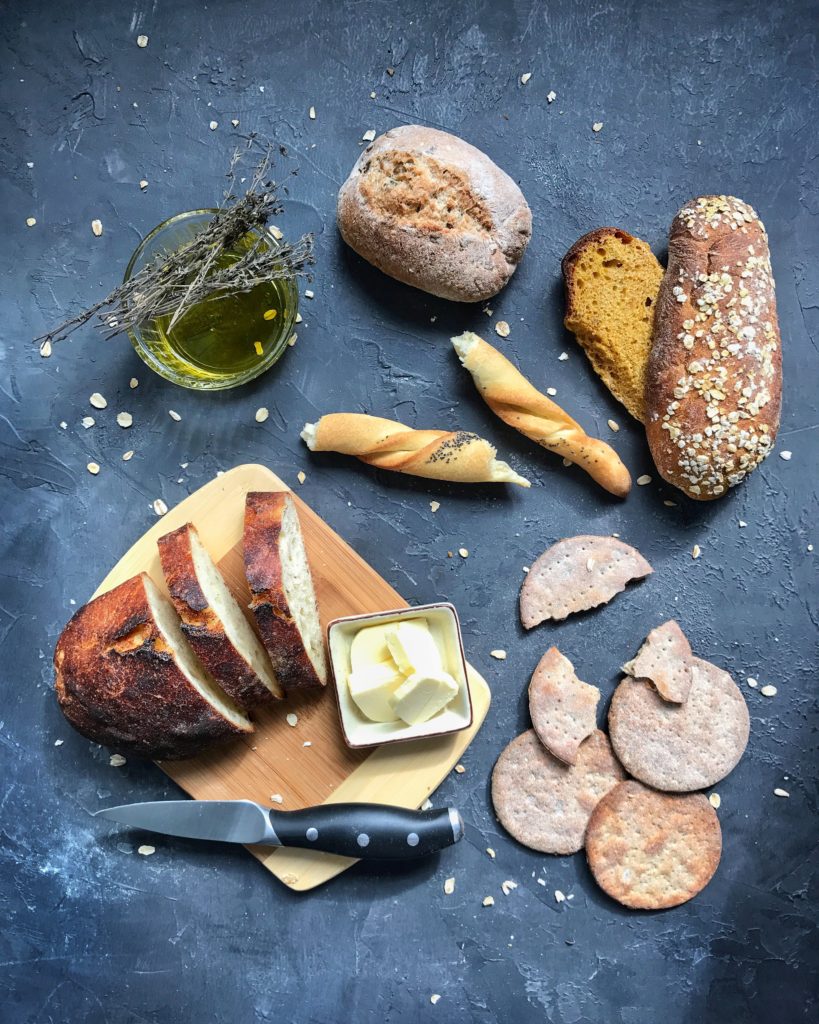
Ingredients :

-3.5 cups of all-purpose flour (I use King Arthur Flour 100% Organic Unbleached All-Purpose Flour, 5 Pound (Pack of 6)

-1 tablespoon of cane sugar (I use Organic Cane Sugar (3 lbs) by Anthony’s, Gluten-Free & Non-GMO

-1 teaspoon of instant dry yeast (I use Instant Dry Yeast – 1lb Superior Bread Yeast for Artisan Bread, Bagels, Pizza Crusts, Pretzels, Sweet Dough (2 Pack Red)

-1.5 teaspoon of salt

-2 tablespoon of olive oil

-400 ml of lukewarm water (you can also do the mixture of 200 ml of whole milk and 200 ml of water, but make sure its lukewarm)

Directions:

Take 400 ml of lukewarm water or the mixture of milk and water in a cup. Add 1 tablespoon of cane sugar. Now add 1 teaspoon of your instant dry yeast. Stir them well and set it aside for 5-6 minutes. After sometime you will notice the yeast starts to activate . Keep in mind that if you add a little warm water, it might kill the yeast and if the water is a little too cold, the yeast wont activate. So make sure the water is of the right temperature.

In a separate bowl, add 3.5 cups of all- purpose flour. Add 1.5 teaspoon of salt, mix them well. Now slowly pour the water, yeast and sugar mixture and keep mixing them with a wooden spoon. Mix everything well with the wooden spoon and once it is all combined, you will end up with a very sticky and wet dough. This is the consistency that you want. Now add 2 tablespoon of olive oil and mix it with the dough. Scrape all the dough with the spatula and now cover the bowl with a plastic wrap and leave it on the counter for 6-8 hours.

After 6-8 hours, the dough rises and doubles in size. Now transfer that dough in lightly greased loaf making pan. Cover it with the plastic wrap and leave it for another 1 hour, the dough will rise again after 1 hour. Preheat your oven at 400 degrees F. At this point you can sprinkle any toppings like oats, sesame seeds or pumpkin seeds of your choice . Now bake the bread for 40 minutes. Once baked, remove it from the loaf pan and let it cool down completely. Enjoy with butter and other side dishes of your choice or make your favorite sandwich. Happy Baking!!

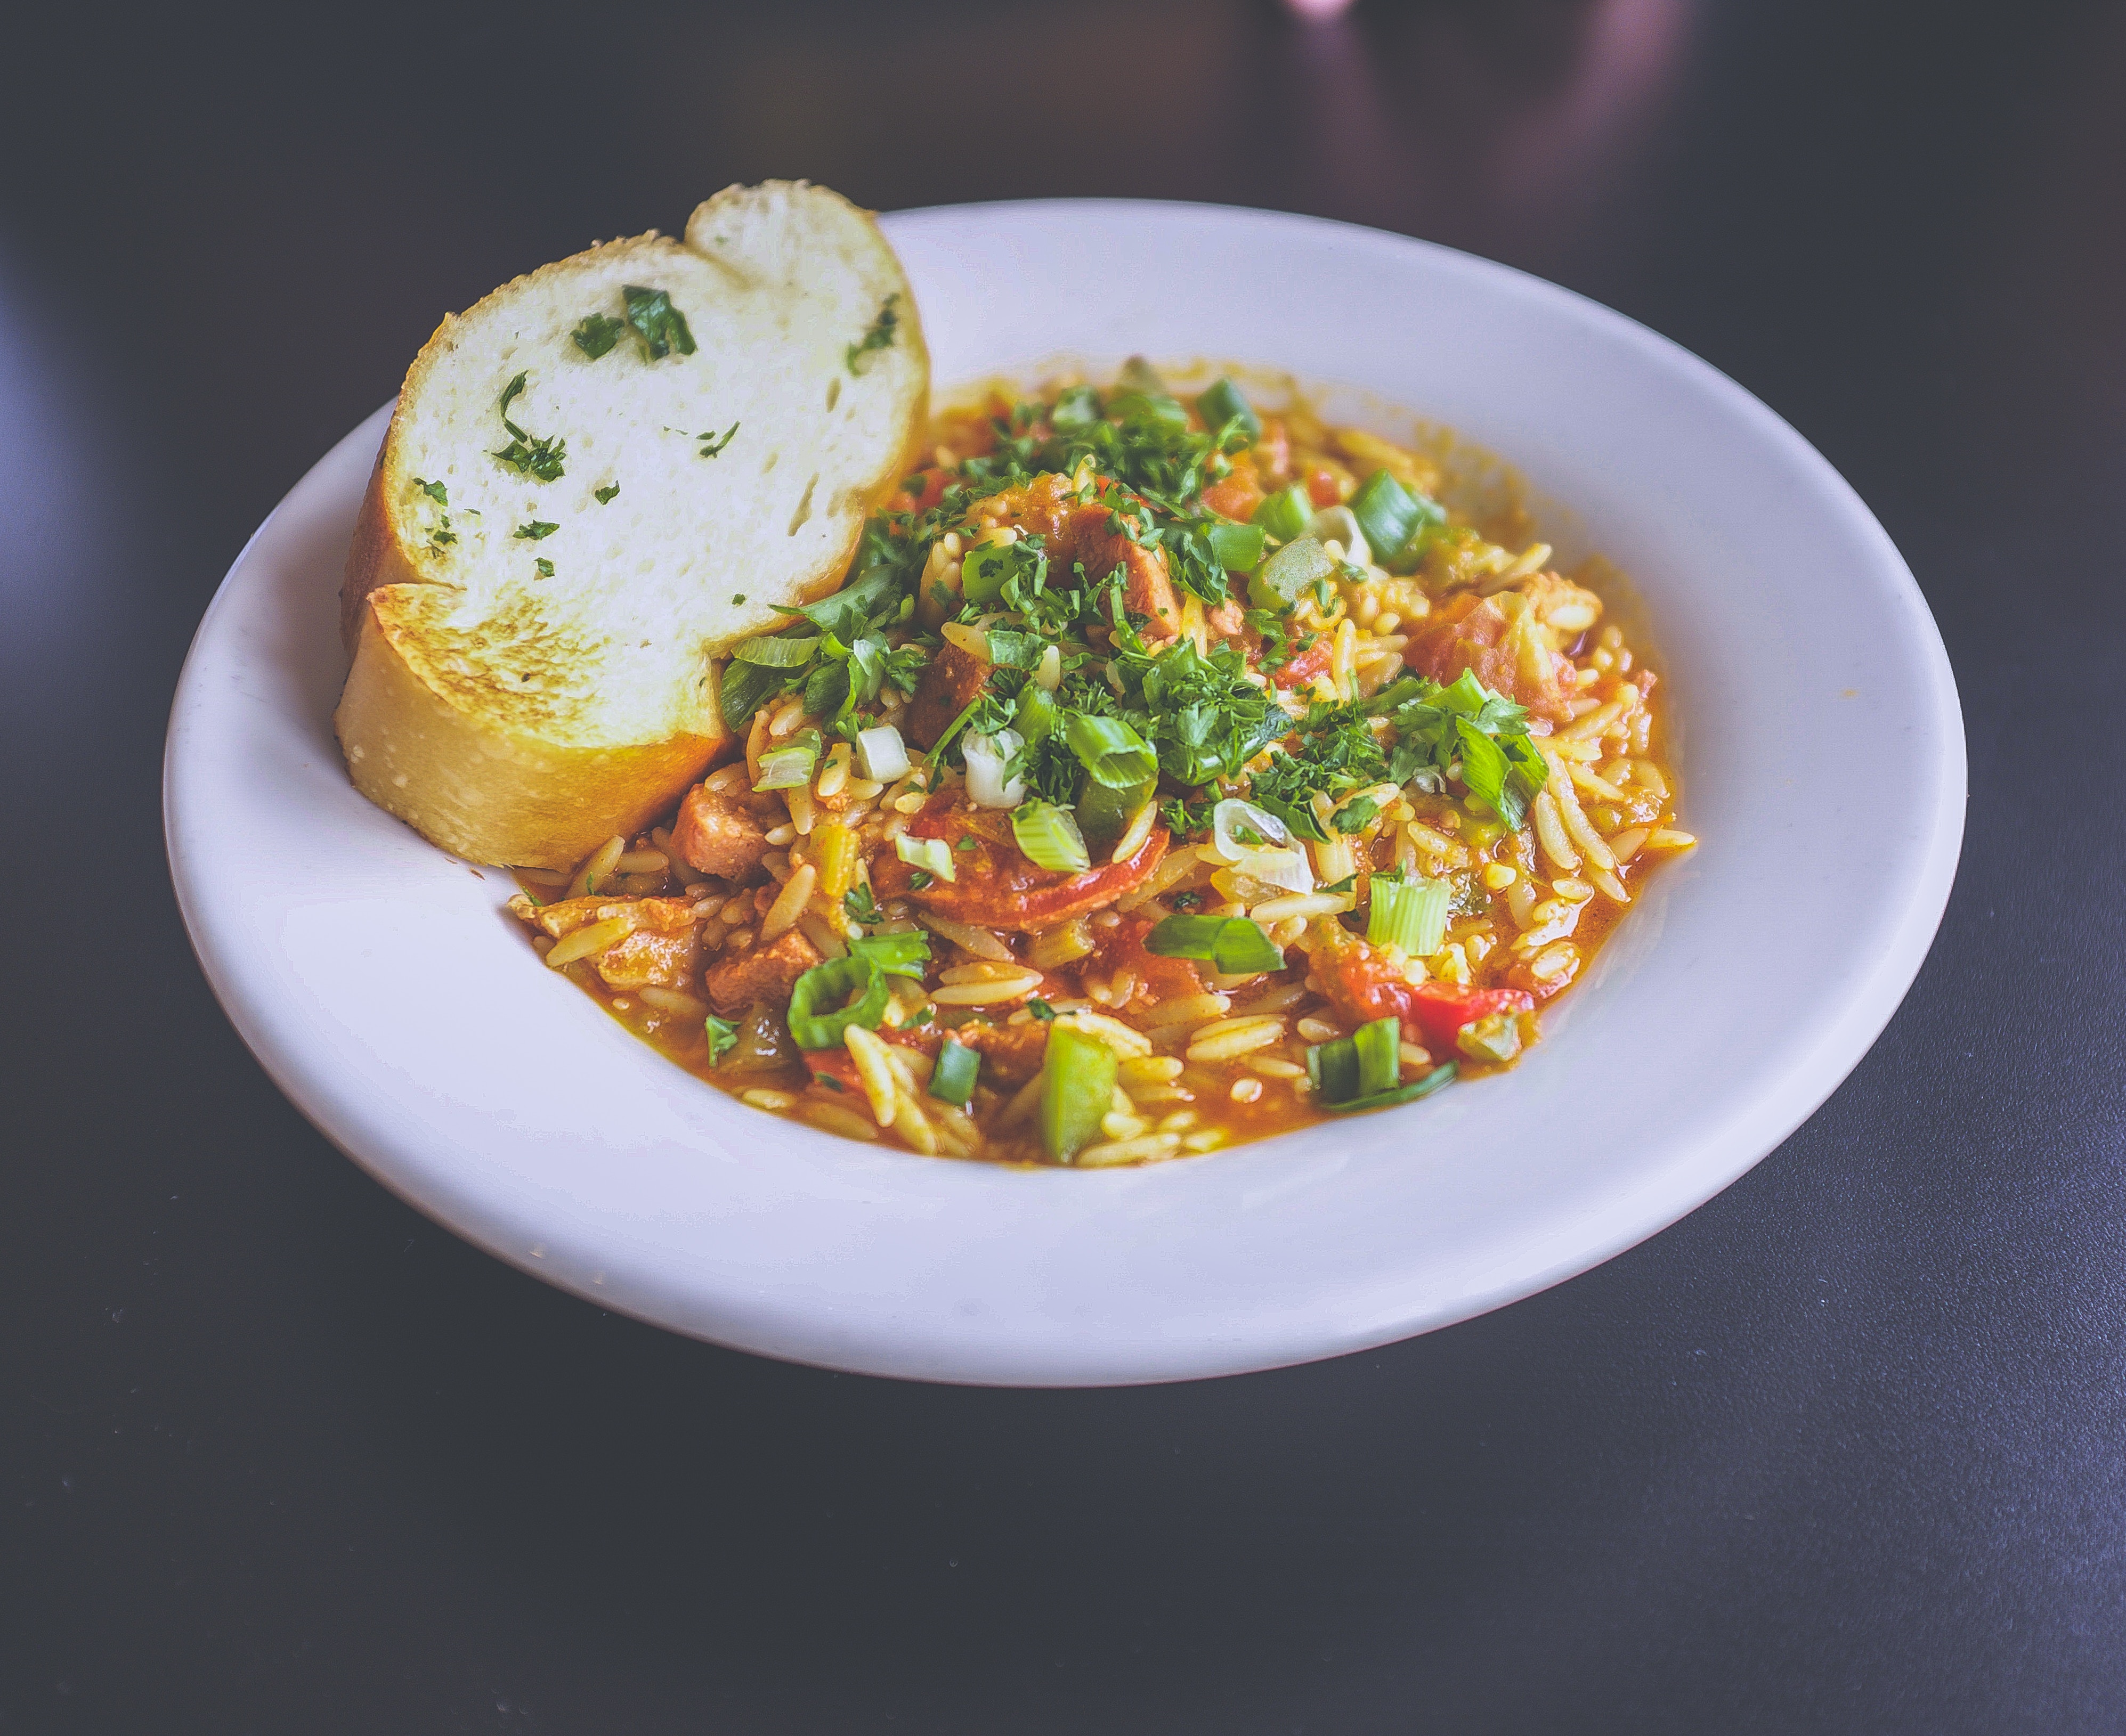
Mushroom and Spinach Orzo

Ingredients:

-2 cups of orzo pasta

-1 medium package of Portobello mushroom

– 2 cloves of garlic- minced

-Olive oil

-Salt and Pepper

-Chicken broth/vegetable stock/ boiled water

-1 medium bag of spinach

-Half  a can of crushed tomato

-Half cup of grated Parmesan cheese

-Parsley and scallions(for garnishing)

Directions:

Heat 2 table spoon of olive oil in a pan. Add minced garlic and let it fry until the garlic becomes golden brown (do not burn the garlic). Add sliced mushroom and let it fry for a while. After 3-4 minutes, add salt and pepper to your taste. Let it cook for another 4 minutes.It might start loosing water a little due to its moisture content.  Now remove the mushroom and its water and keep it in another bowl for later.

In the same pan, add olive oil again and once it is hot, add your 2 cups of Orzo pasta and keep stirring. Keep roasting the pasta until some of them start to become lightly brown. This is the part you do not want to miss as it gives that extra flavor to your final dish. Now add chicken stock or vegetable stock. If you do not have both ,add boiling water until the pasta is fully immersed. You might need more as pasta needs to be cooked and it absorbs a lot of liquid. So keep stirring in between  and once the stock or water starts bubbling, add your mushroom the one we prepared before along with  its water -if any. Add half of the can of crushed tomato. Also add more salt and pepper if needed. Now let it sit for 10 minutes but keep stirring in between, you do not want your pasta to stick on the pan, so keep on adding your liquid (broth or water) depending on the consistency. Keep checking on it from time to time and add your spinach. Let it wilt for a while and your pasta should be done by now. Lastly sprinkle your grated Parmesan cheese and add some freshly cut parsley leaves and scallions for garnishing. Serve hot and enjoy!!!


Cabbage and Onion fritters

Ingredients:

-Half of a medium sized cabbage(sliced into thin julienne)

-1 medium sized red onion(thinly sliced)

-1 cup of chickpea flour

-Half cup of rice flour or all-purpose flour

-Salt and pepper to taste

-1 tablespoon of cumin powder

-1 teaspoon of turmeric

-1 teaspoon of chilli flakes (Depending upon of your preference of level of spiciness, add or reduce or skip the chilli flakes)

-Bunch of cilantro (chopped)

-1 tablespoon of cumin seed or carom seed (Optional) (I prefer using carom seed or cumin seed as they give a very distinct flavor and are great spices for indigestion, heartburn, abdominal gas etc).

-Coconut oil or vegetable oil for deep frying.

Directions:

In a large bowl, add both of your flour (chickpea flour, all purpose flour or rice flour) salt, pepper, turmeric, chili flakes, cumin powder and cumin seeds or carom seeds(optional), or all the dry ingredients. Now add your sliced cabbage, onion and cilantro and mix everything properly. Make sure the  veggies are well coated in the flour mixture. You do not need to add water. Set it aside for 5 -7 mins. The cabbage and onion will start loosing their moisture content and will help to shape the fritters.

In a pan, heat coconut oil or vegetable oil for deep frying. Once the oil is hot enough, make little balls of the mixture from the bowl. The water from cabbage and onion should be enough to shape them in  balls. If the water is not enough to shape them, sprinkle some water, but do not add a lot. Now slowly fry those ball shaped fritters in the hot oil. Let it fry for 3-4 minutes on one side or until golden brown. Now flip to the other side and fry again for 3-4 minutes or until they are fully cooked inside and are crispy on the outside. Enjoy it with some sauce of your choice or ketchup.

Shrimp quinoa

This post contains Amazon affiliate links.Please read my Disclaimer for more information.

Ingredients:

-1/2 pound wild caught shrimp (peeled and deveined) ( I prefer using wild caught ones than farm raised, since farm raised contain more man made toxic contaminants and are fed low quality meals with antibiotics and hormones than wild caught, which are caught from their natural habitats and eat from their existing environment.)

-1 medium sized onion(finely chopped)

-1 medium sized tomato (finely chopped)

-2 cloves of garlic (minced)

-2 cups of  organic sprouted quinoa (I prefer mine sprouted from Pure Living – Organic Sprouted Quinoa – 15 Oz , because the sprouted ones helps in easy bio-availability of key nutrients. I also  soak them overnight with some raw apple cider vinegar Bragg Organic Unfiltered Apple Cider Vinegar, Raw, 16 Ounce – 1 Pack which helps to get rid of phytic acid present in the grains. Phytic acid prevents our bodies from absorption of nutrients. Therefore soaking the grains removes phytic acid but activates the phytase enzymes which helps in better nutrient absorption and digestion.)

-1 tbsp of organic unsalted butter

-Salt and pepper to taste ( I prefer using Himalayan pink salt Sherpa Pink Himalayan Salt, 2lbs Extra-Fine Grain because it is less processed and contains minerals and trace elements and has low sodium content than table salt. Also, it makes food tastes better.)

-1 tbsp of ground cumin Cumin Powder (1 Pound) – Organic Ground Cumin Seed Powder (Cuminum cyminum L.)( I like using variety of spices in my food due to their several health benefits. Cumin is known to help with  digestion and is also good source of iron.)

-Stock of your choice or water

Directions:

In a medium pot, heat your unsalted butter.Once the butter is melted, add your chopped onions and minced garlic and saute it until golden brown. Now add your chopped tomatoes, salt and pepper per your taste and ground cumin. Keep stirring in between until the tomatoes are soft and mixed with onion, garlic and seasonings. Now add your shrimp and cook them until they change their color. Now add your soaked quinoa and mix everything. Add 4 cups of water or stock of your choice and let it simmer until the quinoa is cooked and fluffy. You can also add some lemon juice if you want to enhance the taste. Serve hot and enjoy with your choice of  veggies.

Flour tortillas from scratch

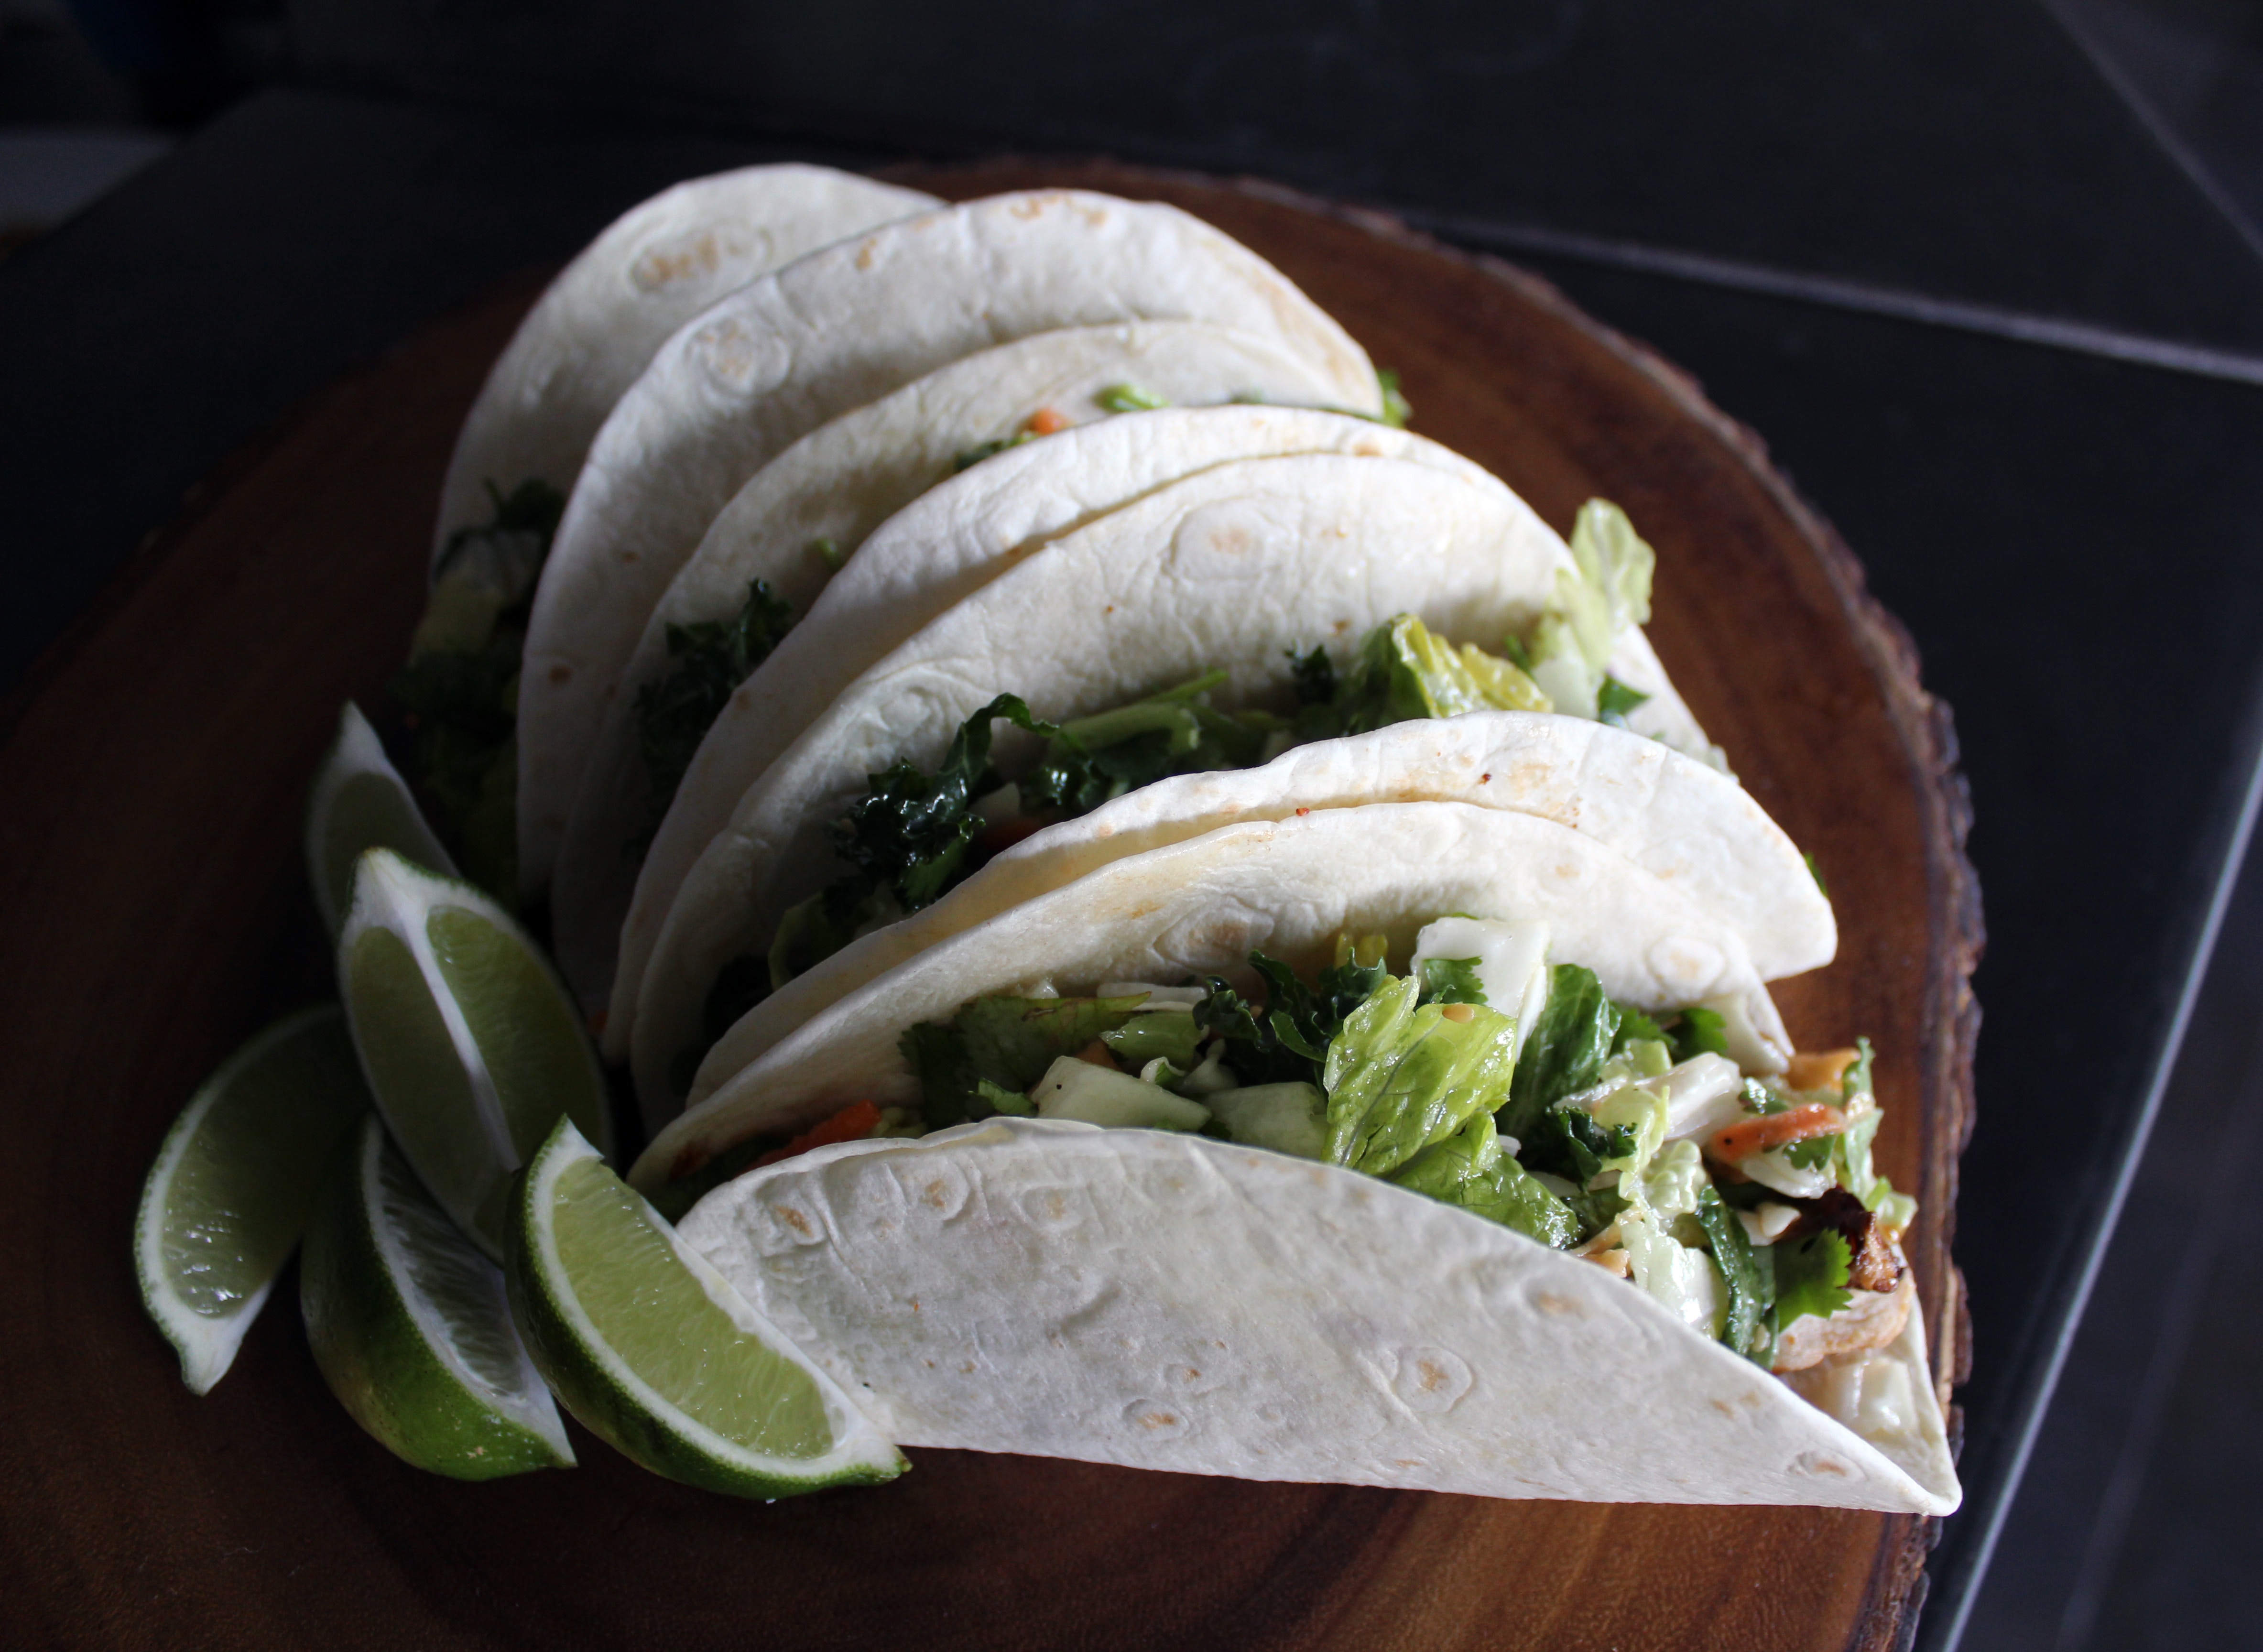
Homemade tortillas make great dinners. Throw in some chicken, avocado and mixed greens and there you have- your own taco or wraps. These can be made ahead of time and can be stored for later use. And its very easy to make with very few and simple ingredients that might be lying in your kitchen. Here is one of the easiest way to make it.

Ingredients:

-2 cups of all purpose flour

-70 ml of warm water

-1 tsp of baking powder

-1 tsp of salt

-2 tbsp of vegetable oil or coconut oil

-Rolling pin to roll the tortilla

Directions:

In a mixing bowl, add your flour, salt and baking powder. Mix them well and add oil. Now slowly add water and keep mixing it until you make a dough like consistency. Make sure not to make the dough too hard or too soft, or you might end up with very hard tortillas or very soft dough which will be hard for you to work with. Knead it for 5-7 minutes until there is no more dough sticking on your hand or on the bowl. Once you have a smooth dough, cover it with a tea towel and set aside for 10-15 minutes. This helps the gluten to relax and work its way out.

After the dough has been rested for 10-15 minutes, divide it into small and equal size. I usually make them the size of ping-pong balls. Once you have them in the size of ping pong ball, flatten them out with your hand. Now, slowly roll them with the help of rolling pin on a clean surface. Keep rolling it on all the sides until you get the desired shape of tortillas. Don’t worry if it is not round enough, it does require some practice.

Once you have rolled the tortillas, heat the skillet. I usually use a cast iron skillet as it distributes the heat evenly. Once the skillet is hot, place the rolled tortillas and slightly press it on all the sides with a wide spatula. It will start to puff up once you press  gently on the tortillas. That is exactly what you want, as it makes your tortillas nice and soft. Now flip to other side, and once it puffs, repeat the same process by gently pressing on the tortillas until its fully cooked. Once they are cooked you can use them for tacos , wraps or quesadillas. Once it cools down, this can also be stored in a big Ziploc bag in room temperature for 2-3 days  and used for later.